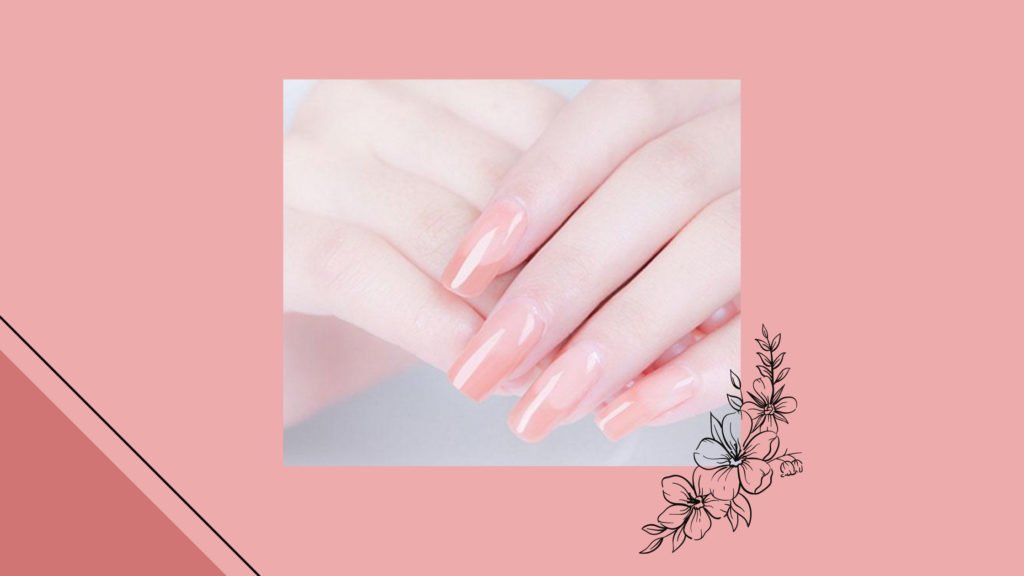
Ladies, it’s time to do something! We understand that quarantine hits you hard, and things are slowly setting into place, but certainly not your nails! But if you have always wanted some manicures that did not need you to mess around with ratios, nail solution, mixing, or monomers, Polygel nails are the answer.
How To Do Polygel Nails At Home?
Our step-by-step guide on applying Polygel nails includes some of everything right from why you need it and how to do it to FAQs. If you are interested in trying it out check out this step-by-step guide.
Several approaches to manicures, but the poly gel nail method may elevate your mani to new heights. It is like a hybrid of gel and acrylics, combining the best of both worlds without drawbacks.

What are Polygel Nails?
It may be used as an overlay for natural nails or molded like acrylics. It is highly flexible. It contains no mixing or monomers, it is free of harmful substances. Polygel nails cure under an LED or UV lamp and are usually straightforward, pink, or white, but you may experiment with other hues by mixing them with gel or conventional polish.
Can You Do Polygel Nails on your own?
Polygel nails are great since they do not harm your natural manicures in the process of making them. They are thought to be safer than alternatives like acrylics since they lack a strong odor and do not need the mixing of monomers as acrylics do.
Since it is a novel concept, not all nail techs will be knowledgeable about it. Make sure you do your homework and locate a salon and artist who are well-versed in using this product
What do you need for it?
Preparation tools are required while performing Polygel nails. This step-by-step guide advises you to have them in your bucket.
- Polygel quick builder nail gel
- Electronic nail file, clippers
- Two-headed Polygel tool
- Brush
- Dual forms for nails
- UV Lamp
- Slip Solution or rubbing alcohol
- Polygel Base
- Gel polish
Step By Step Guide On How To Do Poly Gel Nails?

Step-1
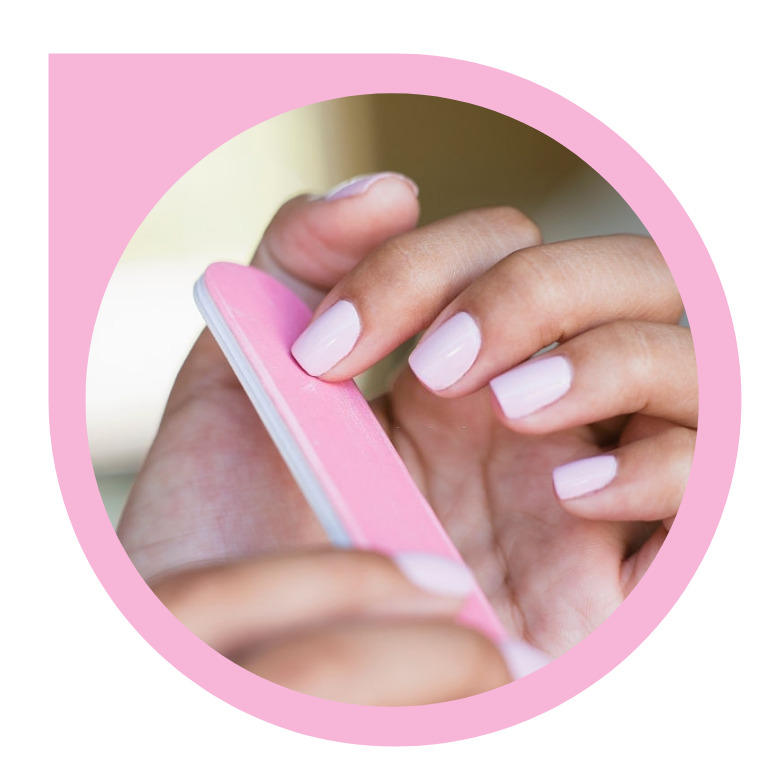
Preparing the nail for polish application is the first step. The nail is filed down and shaped during this step. Push your cuticles back and then cut them as much as needed to begin. To prevent bleeding, do not remove too much of the cuticle.

Step-2
Wash your hands with soap and water after filing the nail and trimming the cuticle. Check to see whether the nail is dried before moving further. Rub the nail with rubbing alcohol to remove any remaining oil.

Step-3
Once you have chosen the perfect dual forms, the following step is to apply them all. Nail dual forms should be somewhat bigger than the real nail on the sides. Once the gel has been set, there will be no empty area.

Step-4
The shaping procedure starts when you have selected the appropriate dual shapes for your nail’s size. To begin, take a small quantity of Polygel and dab it on the dual shape. Running the gel under warm water for a few seconds may help if it is not coming out smoothly.

Step-5
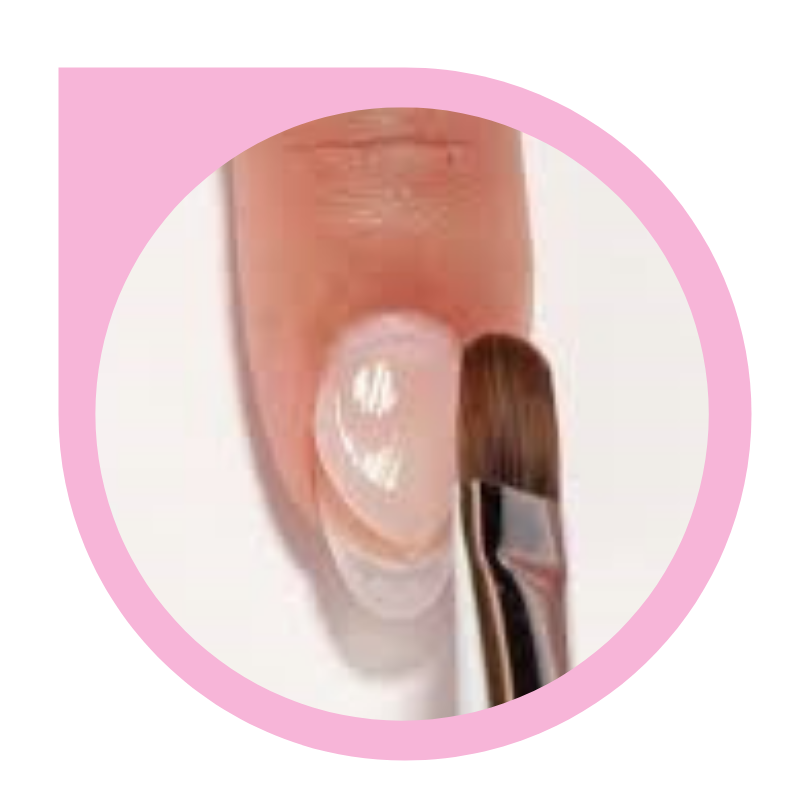
Put the brush end of your instrument in your slip solution or rub alcohol next. Brushes may be used again after wiping the gel off using this method. Before putting the gel on the dual form, dab some on a cloth or a paper towel. The gel should be applied more thinly on the cuticle side and thicker in the center of the dual shape and sides.

Step-6
Apply a thin coat and cure it under a UV lamp for 45-60 seconds, depending on the requirements of the Base Coat after filing your nail to the proper form. When the Base Coat is dry, use a dual-form and apply it at a 45-degree angle to the cuticle, softly pressing down.

Step-7
Then, apply the topcoat. Dip your two-sided brush into the slip solution and wipe away any extra gel with it. After that, flip the nail over and apply a thin coating of gel to the reverse side. Cure the nail as quickly as possible with a UV or LED light, and then snap it off by squeezing the sides of the dual shape. Use an electronic nail file to shape and lengthen the nail to your liking.
Final Verdict
It is possible to get beautiful manicures using Polygel nails if they are applied and removed carefully using this step-by-step guide. It won’t even ruin your natural nails. Strong, flexible, and light manicures are what you will receive, and they will not destroy your original ones or give off a strong odor either.
As a consequence, you will have stunning nails that you may wear in a variety of ways. We advise you to do some research and get them done from professional salons with good customer reviews.

